Photopea Polaroid Effect vs. PolaroidCam — Which Is Easier in 2026?
Last updated: June 8, 2026 — 7 min read
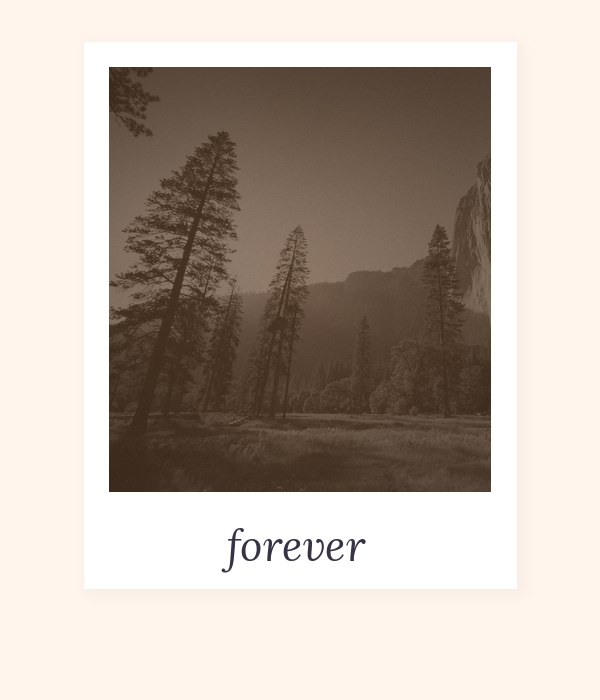
Why Photopea Users Are Searching for a Polaroid Effect
Photopea is remarkable. It runs Photoshop-grade editing in your browser for free — and if you know your way around layers, blend modes, and adjustment layers, you can absolutely recreate a polaroid effect in Photopea. The problem? It takes anywhere from 10 to 20 steps, requires basic knowledge of color grading, and produces a static result from a single photo. For designers who already live in Photopea, this is fine. For everyone else who just wants that instant-film look for a selfie or a photo strip, it’s overkill.
This guide compares both tools honestly — Photopea for polaroid effects versus PolaroidCam — so you can pick the right one for what you’re actually trying to do.
How to Create a Polaroid Effect in Photopea
If you want the Photopea route, here’s what a proper polaroid effect involves:
- Open your photo in Photopea (photopea.com).
- Flatten and duplicate the layer.
- Add a Hue/Saturation adjustment layer — reduce saturation by 15–25%.
- Add a Curves adjustment layer — lift the shadow point to around 20 to create that “faded film” base.
- Add a Color Balance layer — shift midtones slightly warm (yellow-orange).
- Add a Gradient Map layer — set to soft light at 10–15% opacity for a subtle color cast.
- Add a grain overlay using Filter → Noise → Add Noise.
- Flatten all adjustment layers.
- Create the white polaroid border: add a white rectangle layer under the photo, sized with extra space at the bottom (the classic polaroid frame is wider at the bottom than the sides).
- Clip the photo layer to the border layer.
- Add a drop shadow to the bordered photo.
- Optionally add a handwritten-style caption in the lower white space.
- Flatten and export as PNG.
This works well and gives you full control over every detail. If you’re a designer refining a polaroid for a brand asset or print project, Photopea is the right tool. The non-destructive layer approach means you can adjust the warmth, grain intensity, or border size at any stage.
How to Create a Polaroid Effect in PolaroidCam
Open the PolaroidCam polaroid maker in your browser. Allow camera access. Pick a filter (Vintage, Cinematic, or B&W). Tap capture. Download. Done — under 10 seconds.
There is no layers panel, no adjustment layer stack, and no manual border construction. The live filter applies in real time to your camera feed so what you see is what you get before you even press the shutter. The polaroid border, the classic proportions (wider bottom margin), and the optional caption are all part of the template — not manual construction.
Side-by-Side Comparison
| Feature | Photopea | PolaroidCam |
|---|---|---|
| Steps to polaroid effect | 10–15+ | 3 |
| Live camera feed | No | Yes |
| Works on existing photos | Yes | Yes (upload) |
| Layer-based non-destructive editing | Yes | No |
| Photo strip layouts | Manual | Built-in (4-cut, couple, etc.) |
| Learning curve | Medium–High | None |
| Free with no watermark | Yes | Yes |
| Photos uploaded to a server | No (browser-based) | No (fully local) |
| Best for | Designers, print assets | Quick selfies, photo strips, events |
When to Use Photopea for a Polaroid Effect
Choose Photopea when you need precise control over a single image — a brand mockup, a scrapbook page for print, or a hero image for a website. Photopea is also the right choice if you want to apply the effect to an existing photo from your camera roll and you want to tweak the color grading to match other assets in a design system.
Photopea also wins if you want to composite the polaroid into a larger scene — placing it on a desk, giving it a slight rotation and drop shadow, or blending it into a background. The layer system is genuinely Photoshop-grade and free.
When to Use PolaroidCam Instead
Choose PolaroidCam when you want the instant-film look without the editing session. This covers the vast majority of use cases:
- Selfies and party photos — live filter preview means you get the look as you shoot, not after.
- Photo strips — Photopea can’t automatically lay out a 4-cut photo strip with consistent borders and filters. PolaroidCam does this in one session.
- Events and weddings — a self-serve photo booth running PolaroidCam gives every guest a printed strip in 2 minutes. A Photopea workflow cannot do this.
- Mobile use — Photopea on mobile is workable but clunky for a 13-step filter stack. PolaroidCam is built for one-thumb mobile use.
The Photopea Polaroid Filter Community Workaround
There are dozens of free Photopea polaroid actions and PSD templates on Reddit, Behance, and Gumroad that collapse the 15-step process into a one-click action. If you’re going the Photopea route regularly, downloading one of these free action sets is worth the 5 minutes. Search “Photopea polaroid action free” and you’ll find several solid options. These reduce the gap with PolaroidCam significantly for static photo editing — but still don’t solve the live camera and photo strip problem.
Combining Both Tools
The smartest workflow for design-minded users is a hybrid: capture and strip in PolaroidCam, then open individual frames in Photopea for fine-tuning if a specific image needs color correction for print. The PolaroidCam PNG export is full resolution and clean — it imports into Photopea without any compression artifacts.
Frequently Asked Questions
Can Photopea do everything PolaroidCam does?
For static editing of existing photos, yes — with more steps. For live camera capture, photo strips, and event booth use, no. Photopea is a photo editor; PolaroidCam is a photobooth tool. Different use cases.
Is Photopea free for polaroid effects?
Yes. Photopea’s free tier includes all filters, adjustment layers, and export options. A paid plan removes ads. Neither version watermarks your exports.
What is the fastest free way to get a polaroid effect?
The PolaroidCam polaroid maker — three steps, no learning curve, no layers panel. Under 10 seconds from open to download.
Can I use Photopea on my phone?
Yes, but the interface is designed for desktop. Multi-layer adjustments on a small screen are frustrating. For mobile polaroid photos, browser-native tools like PolaroidCam are significantly easier.
Does PolaroidCam upload my photos?
No. PolaroidCam processes everything locally in your browser — nothing is uploaded to a server or used for AI training. Photopea is also browser-based and local, so both tools are privacy-safe.
Key Takeaways
- Photopea can create a great polaroid effect in 10–15 steps — ideal for designers and print assets.
- PolaroidCam creates the same look in 3 steps with a live camera feed — ideal for selfies, strips, and events.
- For photo strips and photobooth use, PolaroidCam has no Photopea equivalent.
- Both tools are free, browser-based, and process photos locally.
- The smartest workflow: shoot in PolaroidCam, fine-tune in Photopea if needed.
Try the 10-second polaroid effect
Free polaroid maker in your browser. Live filters, instant download, no Photoshop steps required.
Open Polaroid Maker